Learn How to Repair Driveways: Your Essential Guide
How to Assess and Repair Your Driveway: A Step-by-Step Guide
Maintaining a driveway is essential for both aesthetic appeal and functionality. Over time, driveways can suffer from various forms of damage, including cracks, potholes, and surface wear. This comprehensive guide will walk you through the process of assessing the condition of your driveway and provide step-by-step instructions for effective repairs. By understanding the common types of damage and the best repair methods, you can ensure your driveway remains in excellent condition. We will cover how to evaluate your driveway, repair cracks, fix potholes, the importance of sealcoating, and the costs associated with these repairs.
How Do You Assess the Condition of Your Driveway?
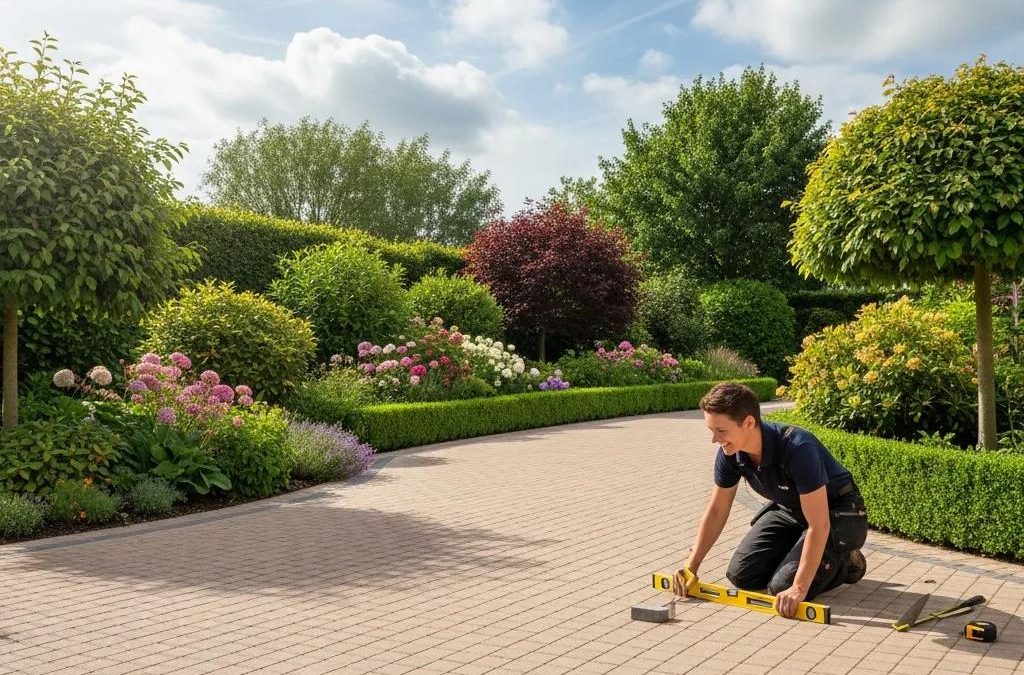
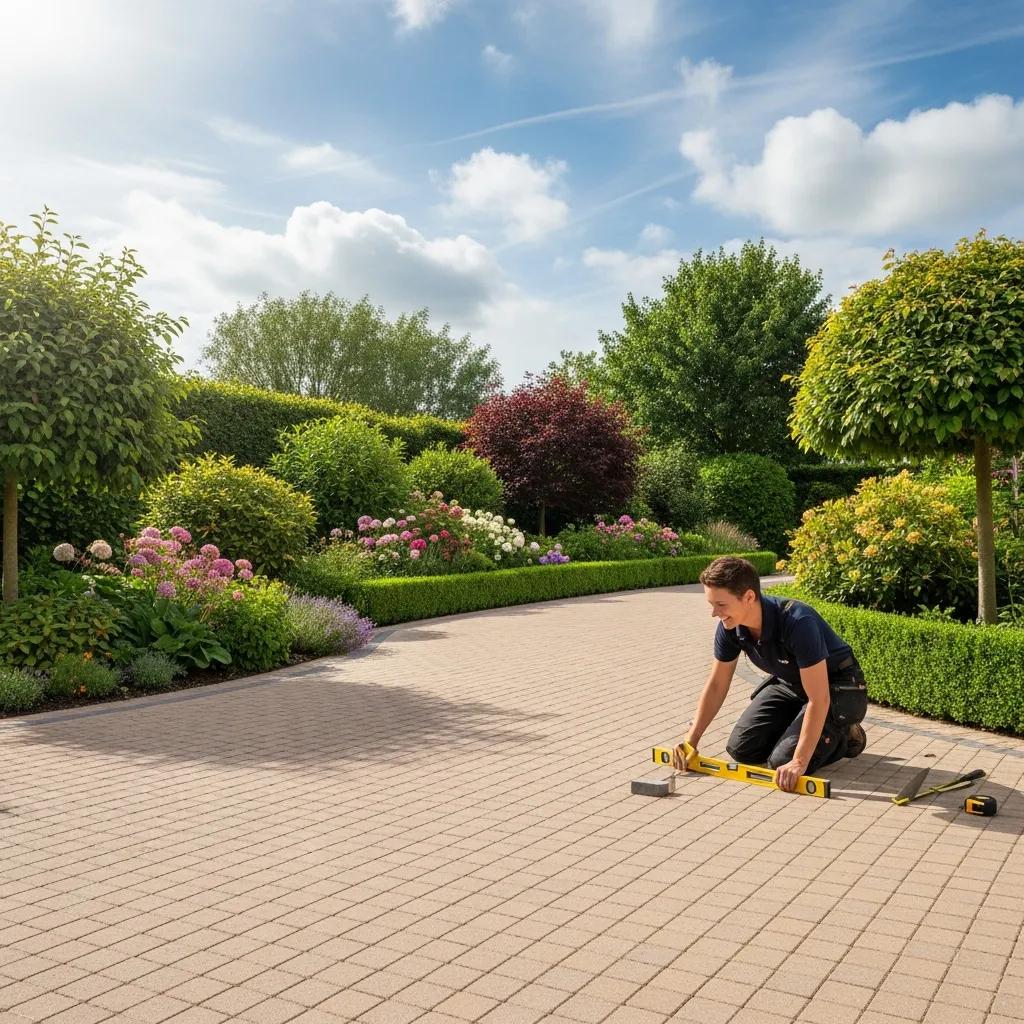
Assessing the condition of your driveway is the first step in maintaining its integrity. Regular evaluations help identify issues early, preventing more extensive damage and costly repairs later. A thorough assessment involves checking for visible signs of damage, such as cracks and potholes, and understanding the underlying causes of these issues.
What Are the Common Types of Driveway Damage to Look For?
When evaluating your driveway, be on the lookout for several common types of damage:
- Cracks: These can range from small hairline fractures to larger fissures that may compromise the driveway’s structure.
- Potholes: Often caused by water infiltration and freeze-thaw cycles, potholes can pose safety hazards and worsen over time.
- Surface Wear: This includes fading, discoloration, and rough patches that can affect the driveway’s appearance and functionality.
Identifying these issues early allows for timely repairs, which can extend the lifespan of your driveway.
How to Use a Checklist to Evaluate Driveway Cracks and Potholes
Using a checklist can streamline the evaluation process. Here’s a simple checklist to guide your assessment:
- Inspect for Cracks: Look for any visible cracks and note their size and location.
- Check for Potholes: Identify any depressions or holes in the surface.
- Evaluate Surface Condition: Assess the overall surface for wear, discoloration, or other signs of damage.
Documenting your findings will help you prioritize repairs and track changes over time.
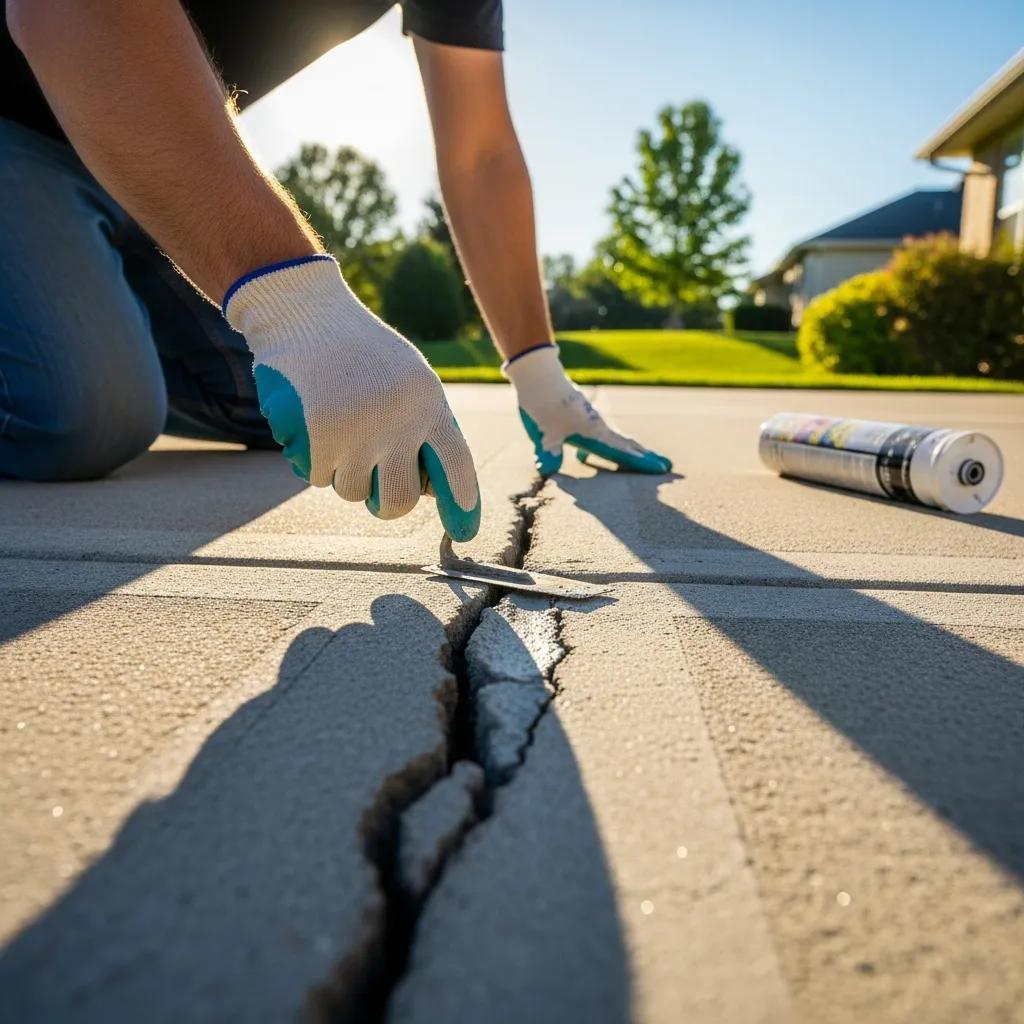
What Are the Best Methods for Repairing Driveway Cracks?
Repairing driveway cracks is crucial for maintaining the integrity of your surface. Different methods are available depending on the type of driveway material—concrete or asphalt.
How to Repair Cracks in Concrete Driveways Step-by-Step
Repairing cracks in concrete driveways involves several steps:
- Clean the Area: Remove debris and loose material from the crack using a wire brush or pressure washer.
- Prepare the Filler: Choose a concrete crack filler that matches the size of the crack. For larger cracks, a patching compound may be necessary.
- Apply the Filler: Fill the crack with the chosen material, ensuring it is level with the surrounding surface.
- Smooth the Surface: Use a trowel to smooth the filler and blend it with the existing concrete.
- Cure the Repair: Allow the repair to cure according to the manufacturer’s instructions, typically 24-48 hours.
This method ensures a durable repair that can withstand the elements.
What Are Effective Asphalt Driveway Crack Repair Techniques?
For asphalt driveways, the repair process differs slightly:
- Clean the Crack: Remove any debris and vegetation from the crack.
- Heat the Area: Use a heat lance to warm the edges of the crack, which helps the filler adhere better.
- Fill the Crack: Apply a hot rubberized crack filler, ensuring it fills the crack completely.
- Smooth and Level: Use a squeegee to smooth the surface of the filler.
- Allow to Cool: Let the repair cool and set before using the driveway.
These techniques help maintain the flexibility and durability of asphalt surfaces.
How Can You Fix Potholes and Surface Damage on Your Driveway?
Potholes and surface damage require immediate attention to prevent further deterioration. Addressing these issues promptly can save you time and money in the long run.
What Materials and Tools Are Needed for Pothole Repair?
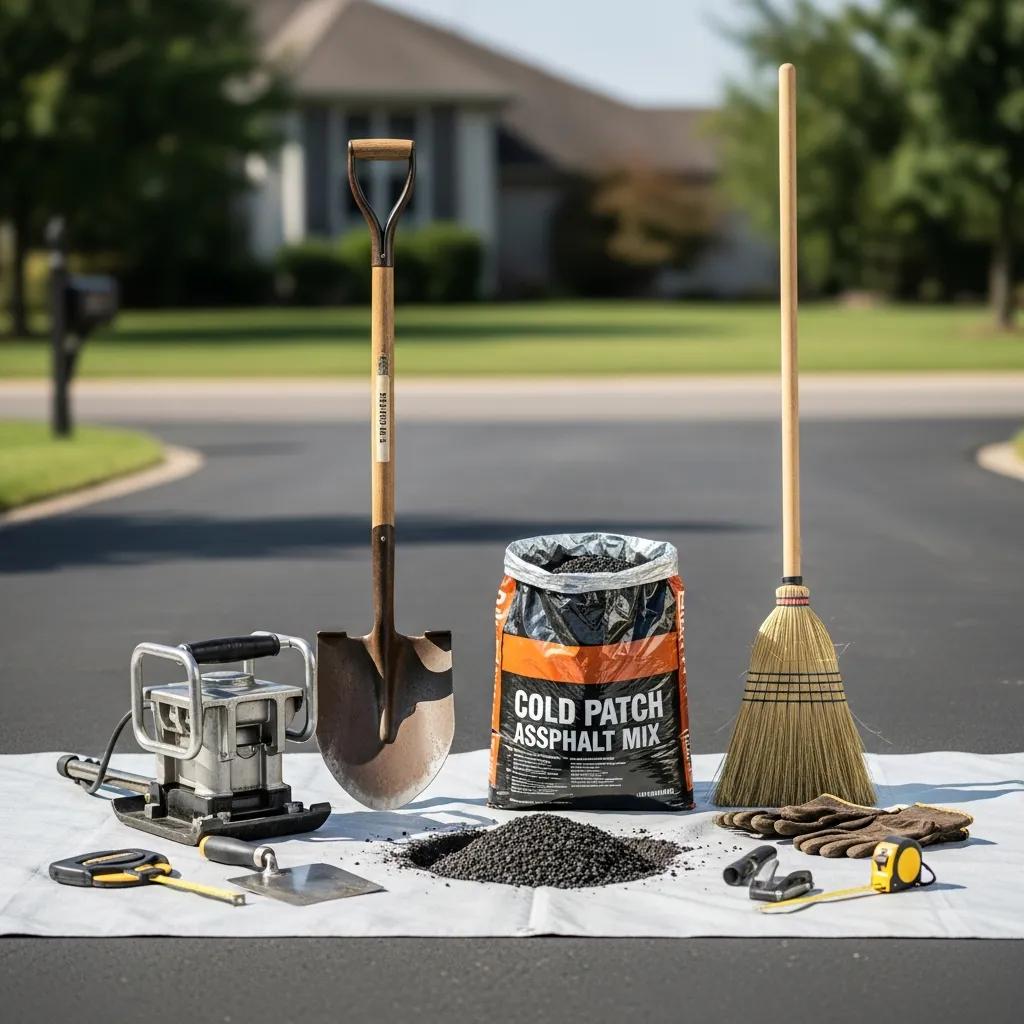
To effectively repair potholes, gather the following materials and tools:
- Cold Patch Asphalt: A ready-to-use material for filling potholes.
- Shovel: For removing loose debris and applying the patch.
- Tamper: To compact the patch material.
- Broom: For cleaning the area before repair.
Having the right tools ensures a smooth and effective repair process.
Step-by-Step Guide to Asphalt and Concrete Patching
Follow these steps for effective patching:
- Prepare the Area: Remove any loose material and debris from the pothole.
- Fill the Pothole: Pour the cold patch asphalt into the hole, overfilling slightly.
- Compact the Material: Use a tamper to compact the patch, ensuring it is level with the surrounding surface.
- Seal the Edges: Apply a sealant around the edges to prevent water infiltration.
- Cure the Repair: Allow the patch to set according to the manufacturer’s instructions.
This method will restore the surface and prevent further damage.
Why Is Sealcoating Important for Driveway Maintenance?
Sealcoating is a vital part of driveway maintenance that protects against the elements. It acts as a barrier against UV rays, water, and chemicals that can degrade the surface over time.
How Does Sealcoating Protect Against Water Damage and Wear?
Sealcoating provides several protective benefits:
- Water Resistance: It prevents water from penetrating the surface, reducing the risk of cracks and potholes.
- UV Protection: Sealcoating shields the driveway from harmful UV rays that can cause fading and deterioration.
- Enhanced Durability: A sealcoat can extend the lifespan of your driveway by providing a protective layer against wear and tear.
These benefits make sealcoating an essential maintenance step.
When and How Should You Apply Driveway Sealcoat?
The best time to apply sealcoat is during dry weather, ideally in the spring or fall. Here’s how to apply it:
- Clean the Surface: Remove dirt, debris, and any previous sealant.
- Repair Damage: Address any cracks or potholes before sealing.
- Apply the Sealcoat: Use a squeegee or roller to apply the sealant evenly across the surface.
- Allow to Cure: Let the sealcoat cure for at least 24 hours before using the driveway.
Regular sealcoating can significantly enhance the longevity of your driveway.
What Are the Costs and Time Considerations for Driveway Repairs?
Understanding the costs and time involved in driveway repairs is crucial for planning. Various factors can influence these aspects, including the type of damage and materials used.
How Much Does Driveway Resurfacing Cost on Average?
On average, driveway resurfacing costs between $2 to $4 per square foot, depending on the material and extent of the damage. This investment can restore the appearance and functionality of your driveway.
What Factors Influence Repair Costs and Duration?
Several factors can affect the overall cost and time required for repairs:
- Material Type: Different materials have varying costs and application times.
- Extent of Damage: More extensive damage requires more time and resources to repair.
- Labor Costs: Hiring professionals can increase costs, but may ensure a higher quality repair.
Being aware of these factors can help you budget effectively for your driveway maintenance.
What Are Essential Tools and Materials Needed for DIY Driveway Repair?
For successful DIY driveway repairs, having the right tools and materials is essential. This preparation can make the process smoother and more efficient.
Which Repair Materials Are Best for Concrete and Asphalt?
The best materials for driveway repairs include:
- Concrete Filler: Ideal for small cracks in concrete driveways.
- Asphalt Patch: Suitable for filling potholes in asphalt surfaces.
- Sealant: Used for protecting and sealing the surface after repairs.
Choosing the right materials ensures effective and lasting repairs.
What Tools Facilitate Effective Driveway Crack and Pothole Repairs?
Essential tools for driveway repairs include:
- Trowel: For smoothing and applying filler.
- Tamper: To compact patch materials.
- Broom: For cleaning the surface before repairs.
Having these tools on hand will facilitate a more efficient repair process.